A fan is not considered a complex electrical appliance. Its design includes a motor, a cone-stand, blades and buttons for adjusting the frequency of operation. Sometimes a homemade fan circuit includes a backlight and a clock.
The article will further tell the reader how to make a cone and fan blades with their own hands.
Homemade fan example fan
Several suitable materials
There are several options for suitable materials to create fan blades and cone:
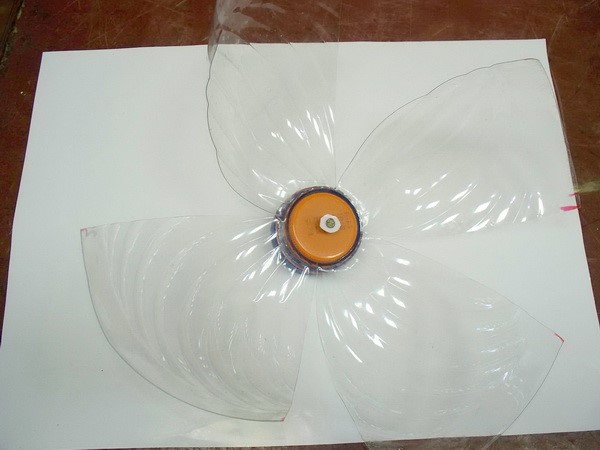
- Plastic base. For designers, this is a favorite material for creating devices like fans. The blades are made of plastic from the top of the bottle, which is located closer to the neck. The entire part is cut to the cork. In addition, a cone and a base for the fan are made from a plastic bottle. The second part is usually constructed from the bottom of a plastic bottle. Additional details are sometimes required: beverage tubes or cardboard.
Plastic fan blades
- Cooler. The easiest way to make the blades and cone for the fan is to use a computer cooler. This part is used as an aerodynamic filter in a computer unit. Thus, a cooling system is built for the inside of the system unit. The cooler is a fan, only reduced in size. To make the ventilation equipment larger, you will need several unnecessary coolers.
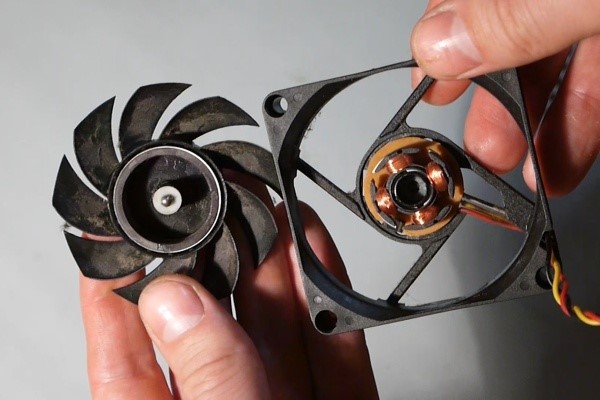
Cooler as an integral part of the cone and fan blades
- Disk. This part is suitable for creating blades. This option is easier to handle, as it is small in size. But the disk design is much more difficult to build. Also, it is impossible to make a cone from the disk.

An example of creating blades from a disk
Step-by-step instruction
For each material listed above, there is an instruction for creating blades and a cone for a fan.
Made of plastic
Consider the algorithm of actions with a plastic bottle:
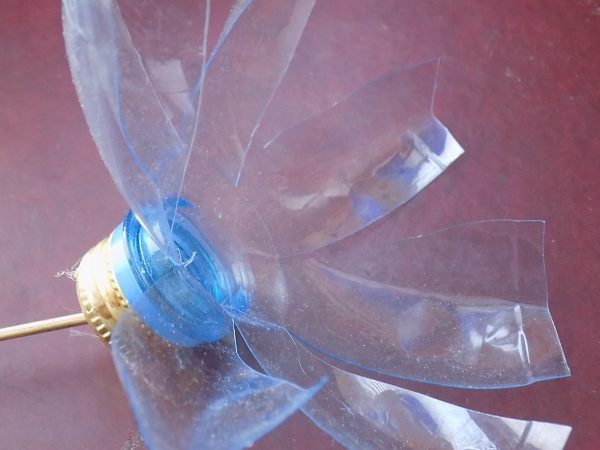
- One part of a plastic bottle with a cap will be blades. Therefore, the base is cut so that several petals are formed. Petals come off through one.
- To give the blades a form, you need to twist them. A candle, matches or a lighter will help. The main thing is to carefully monitor the process, as soft plastic is subject to fire. It is better to keep the lighter at the maximum distance, just to heat up the plastic.
Section of the first part of a plastic bottle
- The cover is used as the base for the propeller with blades. A hole is made in it, which coincides with the size of the motor axis. To strengthen the connection, the material is glued.
- The fan base or cone is constructed from the remainder of the plastic bottle. A hole is made in it to place a cover on which the blades with a motor are worn. The design is installed strictly at right angles. The main thing is to make the bases heavier. For this, large bolts, nuts or other metal elements of significant weight are suitable.
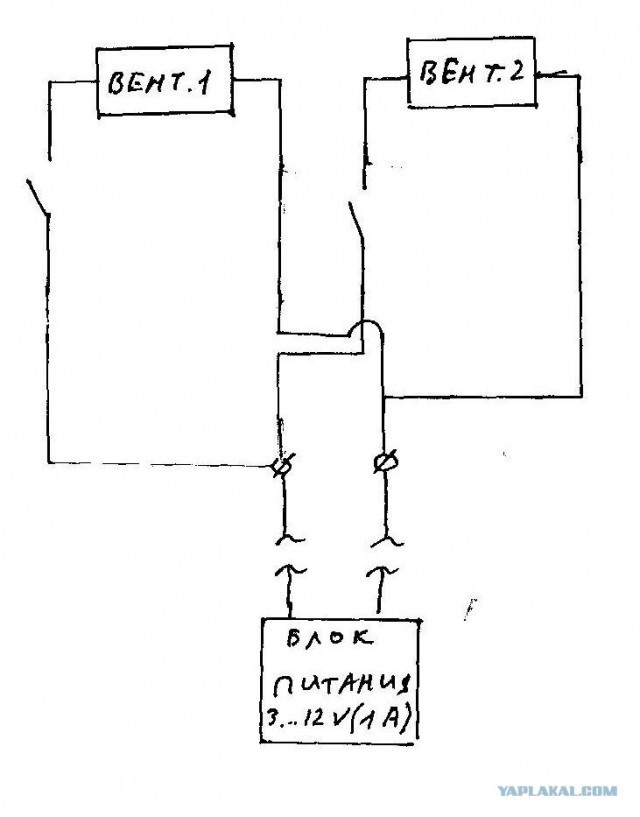
- In the end, on the basis of the future cooling device, a hole is made for the button, and the electric circuit closes. There you can put the power supply.
From cooler
Next, consider the instruction using a cooler:
- To turn the cooler into a ventilation unit with a propeller, wires are prepared first, and then a connecting structure.When the device is located near the computer unit, an ordinary USB cable is useful. The connecting wire is cut and cleaned from insulation. A similar operation is carried out with the cooler wiring. In the process of assembling the propeller, you will need a red and black wire. The first is responsible for plus, the second for minus. But if there are other colors in the wires of the cooler and the USB cable, they can be cut and removed. This is done so as not to get confused.
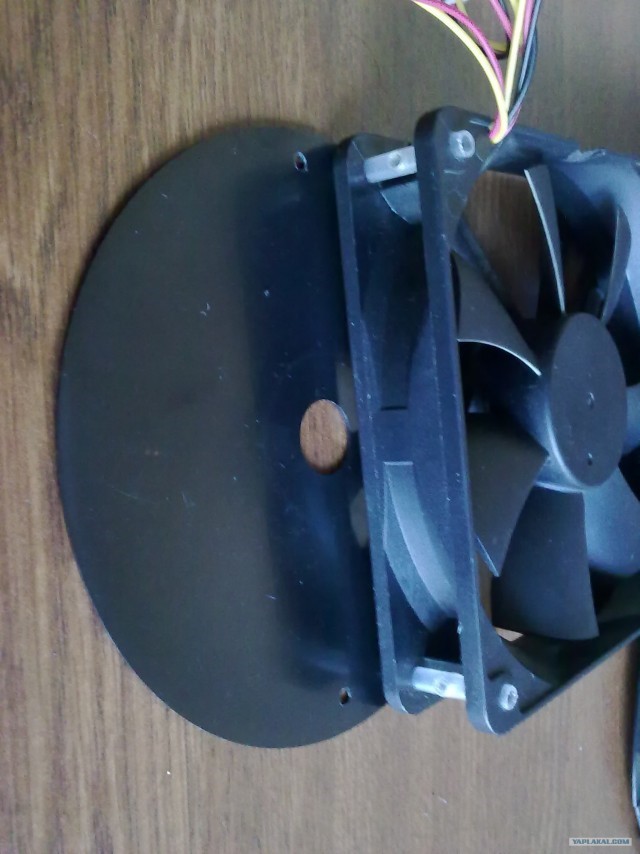
Installing the cooler on a plastic base
- We proceed to the procedure for joining materials. First, the wires and cooler are cleaned of dust and other debris. It is better to twist the cords together. Do not confuse colors. Incorrect design will lead to difficulties in the process of designing parts for the fan. For twisting you need 1 cm. If necessary, most of the wires are cleaned and insulated in the future.
Wires and cooler
- Do not forget about the safety of the design. Correctly insulated propeller wires guarantee a low chance of shorting the outlet or computer. Bare wires are wrapped with electrical tape if there is no power. It is better that the flooring be thick.
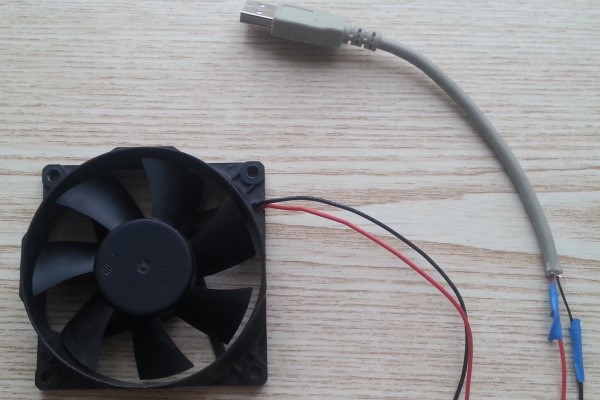
- The final touches on creating a propeller are to equip a computer cooler. The fact is that this part is light but fast. Enough 5 volts for a very high rotation speed. The voltage indicator was chosen for a reason: the cooler will cope with its task and will not bring much noise.
The final layout of parts for the fan
If the “minus” falls to the “plus”, a dangerous situation is created. Do not allow the black and red wires to touch when connecting the electrical circuit. At the same time, not only the USB cable burns, but also the components of the computer system.
Typically, a computer is not afraid of such situations if it has built-in special protection against voltage drops. Much more difficult is the problem with outlets. During drops, the outlet is short and operation in the entire wiring is disturbed. Therefore, care should be taken to insulate the exposed part of the wires in order to avoid difficulties and unusual situations.
To create a full-fledged fan of significant dimensions, you will need several unnecessary coolers. Otherwise, the device will fall due to vibrations and vibrations. This situation cannot be allowed for the following reasons:
- If dropped, the device may bounce right in the face. But such a device will not cause deep cuts.
- If the made device falls on a flat surface, the blades simply break. The fragments will fly to different places. A hazardous part may also bounce into the eye.
- Other dangerous contingencies.
From disk
You cannot make a cone from the disk. But this material is useful for creating blades. Consider the detailed instructions for creating parts:
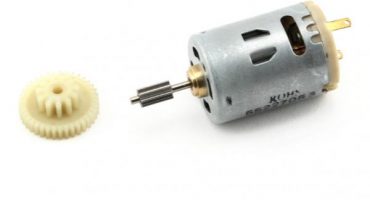
- Since a cooler is not used at the base of a fan with disk blades, you need to buy or find a special motor. He sets the structure in motion. But in fact, it is possible to use an engine from a system cooler for cooling. It is necessary to choose a motor that moves with a specific part - sticking out iron or plastic rods. But the drive will make a much better and more durable propeller. As the motor, parts are taken from the old video recorder and player. These materials are good, since the basis of the devices is the process of spinning discs and cassettes. Do not use a motor from a washing machine or a broken fan. Such devices strongly spin the propeller. With self-assembly of the product with low-quality tools, the design is flimsy. Therefore, a motor with a suitable rotation speed is selected first. If the engine rotates at high speed, it is likely that the disk base of the blades will crack and spread around the room. A working motor is fastened with wires in the same way as described previously.
Disk layout example
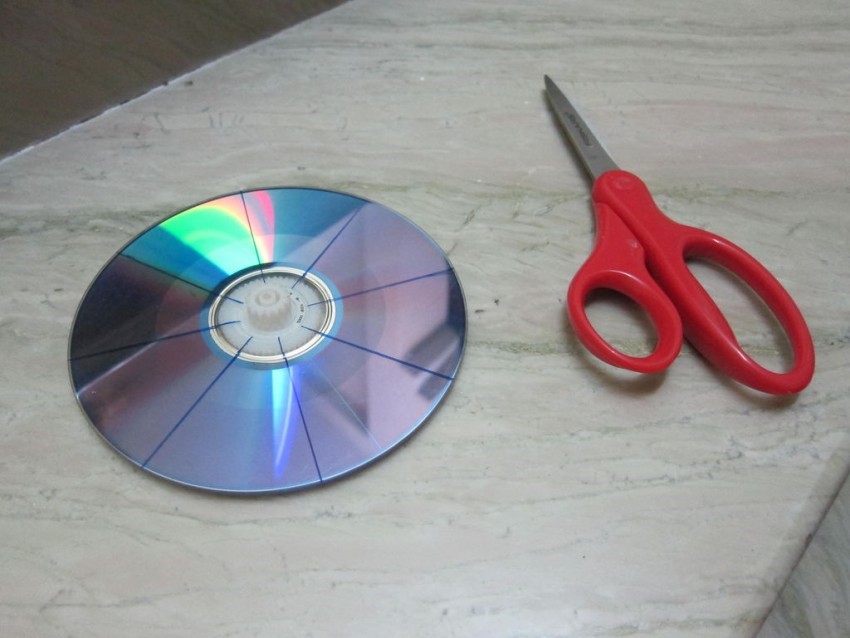
- Next is the design of the blades.The disk is the base of the propeller, which is attached to the engine. Therefore, you need to work more carefully with this part. To begin with, several disk surfaces are cut into 8 identical parts each. Previously, the material is lined with a ruler and a simple pencil. This is to prevent errors. A soldering iron is better in this case, since the tool does not leave sharp edges, unlike scissors. After that, the disk surface is slightly heated by the lighter. So the material becomes malleable. The separated parts twist like the blades of a real fan. A similar procedure was done with a plastic bottle. A wooden cork is fixed in the center of the device. If the size does not match the hole, the plug must be planed.
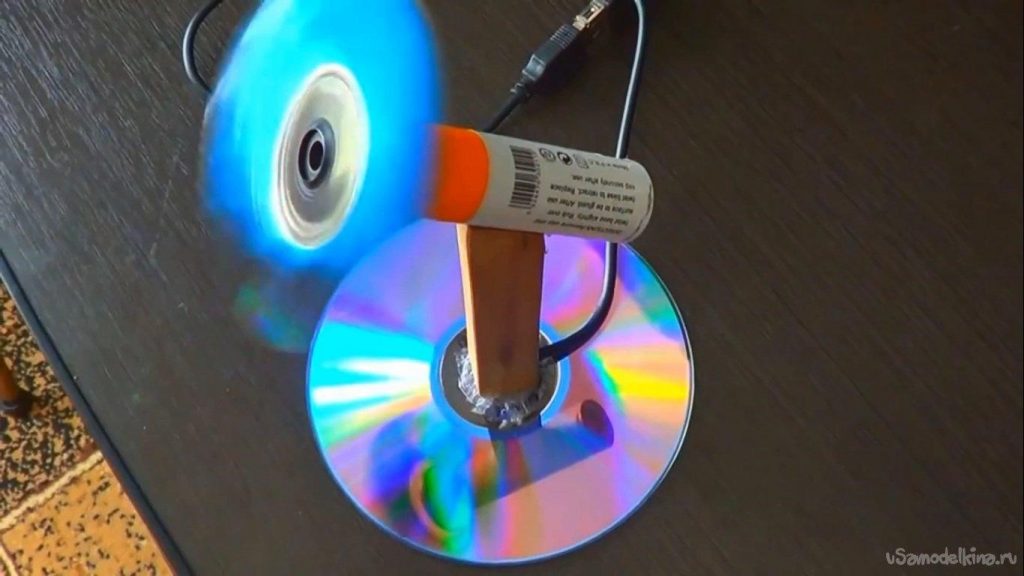
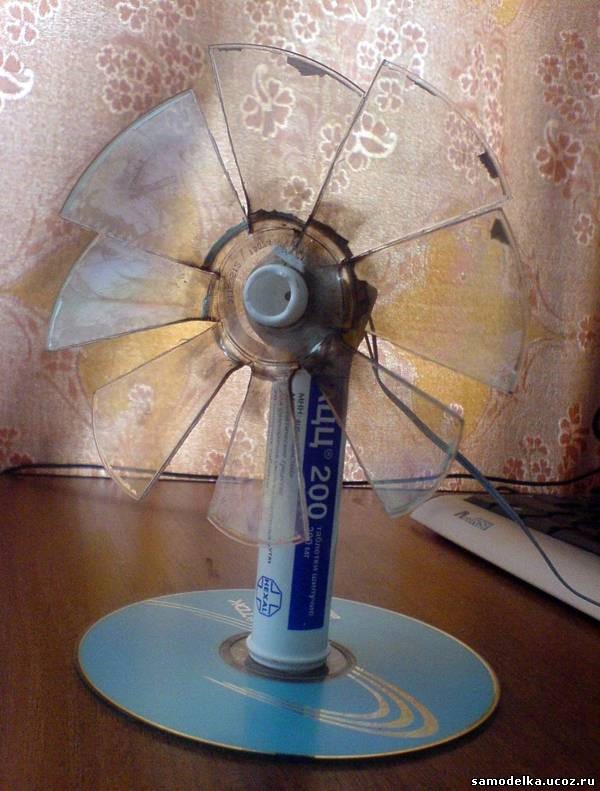
Total disc fan on 2 bushings
- After creating the propeller with the blades, everything else is designed. The disc is not useful for constructing a cone. The central part of the disc fan is mounted on a standard sleeve from a toilet roll. The resulting part is fixed strictly in the center of the second disk surface. This design will play the role of the foundation for the fan. Upstairs is the rest of the sleeve. The propeller engine is placed in this place. Disc blades are mounted on the motor. The device is now ready for use. Always at will add additional decorative elements in the form of highlighting. So the device looks presentable.
What materials do not fit exactly
The following materials are absolutely not suitable for the design of the blades and fan cone:
- Paper is the most inappropriate material for creating a fan at home. The reason is simple - paper is very impractical in its properties. It immediately gets wet if drops of water fall on it. Even high humidity in the room can damage the paper device. However, some inventors make such devices for decorative purposes. Of course, such a fan will work from the wind. For a more durable paper device, cardboard from boxes is needed.
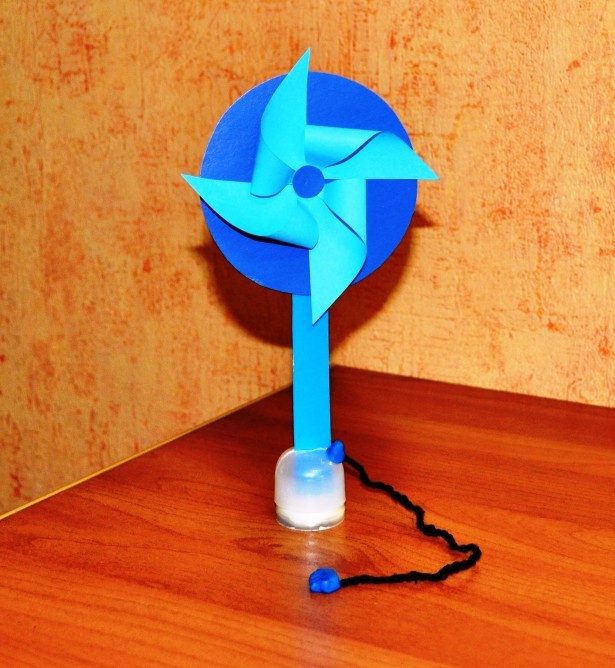
Decorative paper fan
- Wood is also inappropriate material, since wood is not plastic in its properties. It is more difficult to make blades and a cone out of it. But if you try, a wooden cone for a home-made device will last a long time in proper conditions without dampness and moisture.
Creating a homemade fan at home is a simple task. It is enough to purchase the necessary material and follow the instructions in this article.